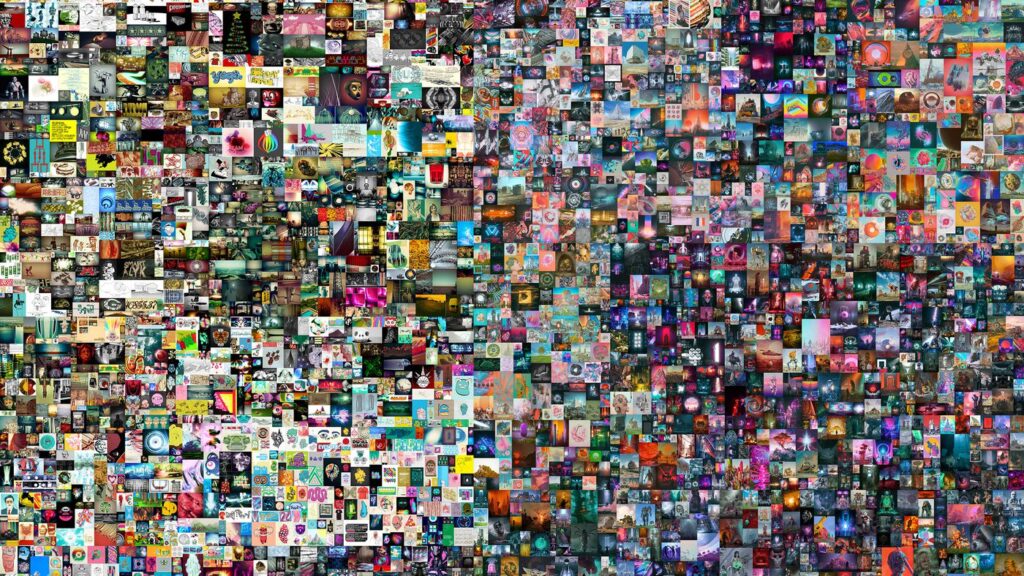
So what the heck is an NFT anyway? An NFT is a non-fungible token. This means that it’s unique and can not be replaced. It’s the opposite of something like Bitcoin which is fungible, meaning you can trade one Bitcoin for another with no issue. NFTs are part of the Ethereum blockchain. Ethereum, like Bitcoin, is a cryptocurrency and Ethereum’s blockchain supports NFTs. It’s a digital asset that represents an actual object like art or music.
The Process of Creating an NFT
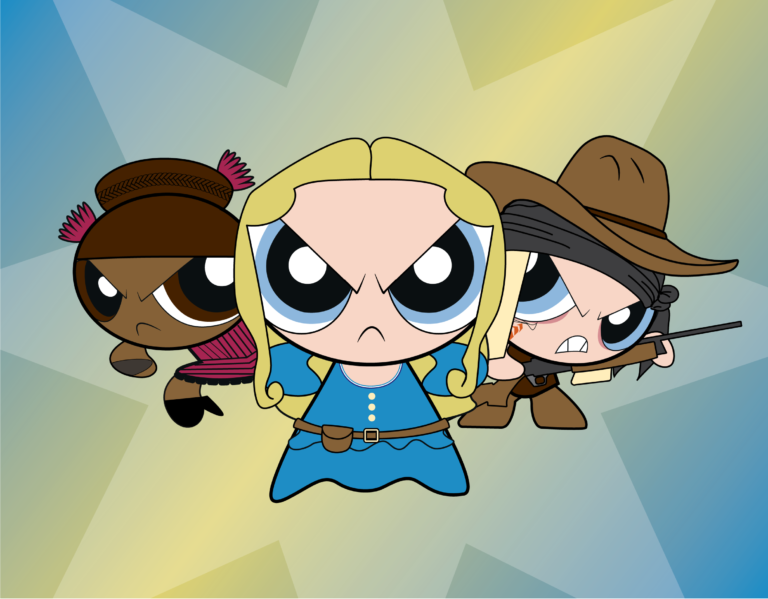
To understand the process of creating an NFT, your girl decided to get her hands dirty and attempt it herself. You can check it out here on Rarible by the way. For my first NFT, I used some old parody artwork of the Powerpuff Girls as Westworld characters that I created in Adobe Illustrator a few years ago. Below, I have outlined the step by step process from my experience.
Step 1 - Create Something
The first step in the process of making an NFT, is to have something to make into an NFT. This can be digital art, a meme, songs or an entire album! Once you have your art, you are already on your way to creating an NFT.
Step 2 - Set Up an Ethereum Wallet
Next, you’ll need to set up a digital wallet where you’ll securely store your cryptocurrency. Since I’m new to the world of cryptocurrency, I used the highly recommended Coinbase Wallet. It was very easy to set up. I just downloaded it to my phone and followed the instructions. Here are a few well-known wallets to consider: Coinbase Wallet, MetaMask, AlphaWallet, and Rainbow.
Step 3 - Purchase Some Ethereum
Now that you have your wallet, you’ll have to purchase some Ethereum(ETH). This is important because there are some fees that are associated with the creation of an NFT, which I’ll cover more in the following steps. ETH is the cryptocurrency you’ll be using for NFTs. An NFT can only have one official owner at a time and they are secured by the ETH blockchain. This means no one can modify the record of ownership or copy/paste a new NFT into existence.
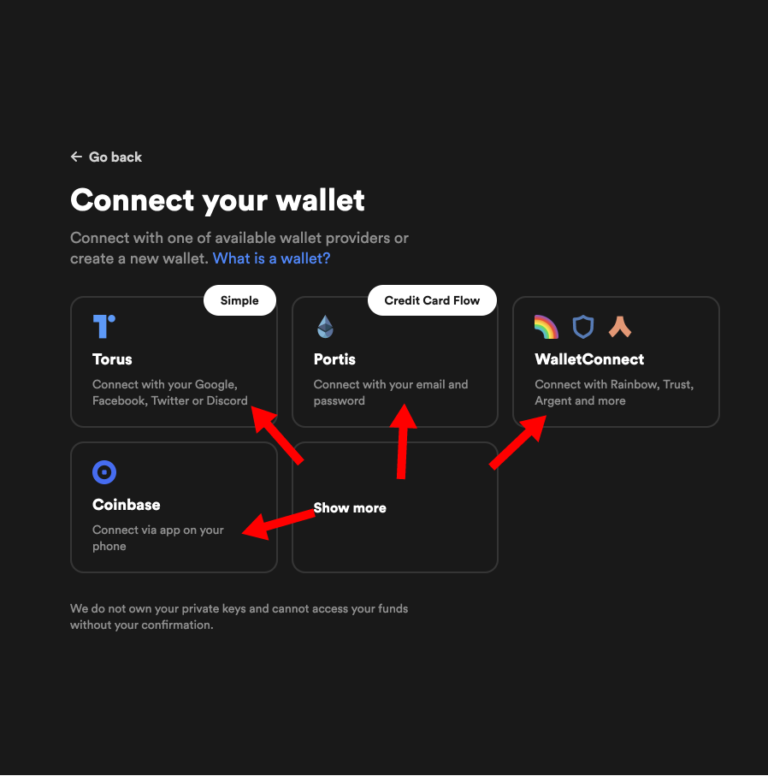
Step 4 - Connect Your Wallet to an NFT Marketplace
At this point, you should have your wallet set up with some ETH in it. Now you’re ready to connect your wallet to an NFT marketplace. There are quite a few marketplaces to choose from. Here are a few of the most popular according to Google: Rarible, OpenSea, SuperRare, and Foundation.
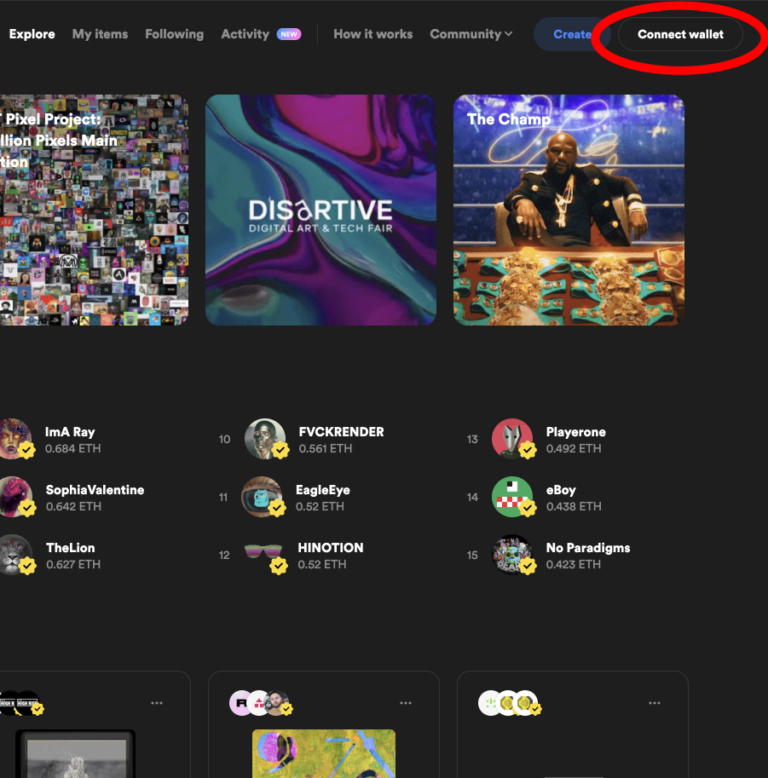
- As I mentioned above, I used Rarible to list my first NFT. All I had to do to connect my wallet was go to the website and then click the “Connect Wallet” button in the top right-hand corner.
- Next, choose the wallet provider that you chose in Step 2.
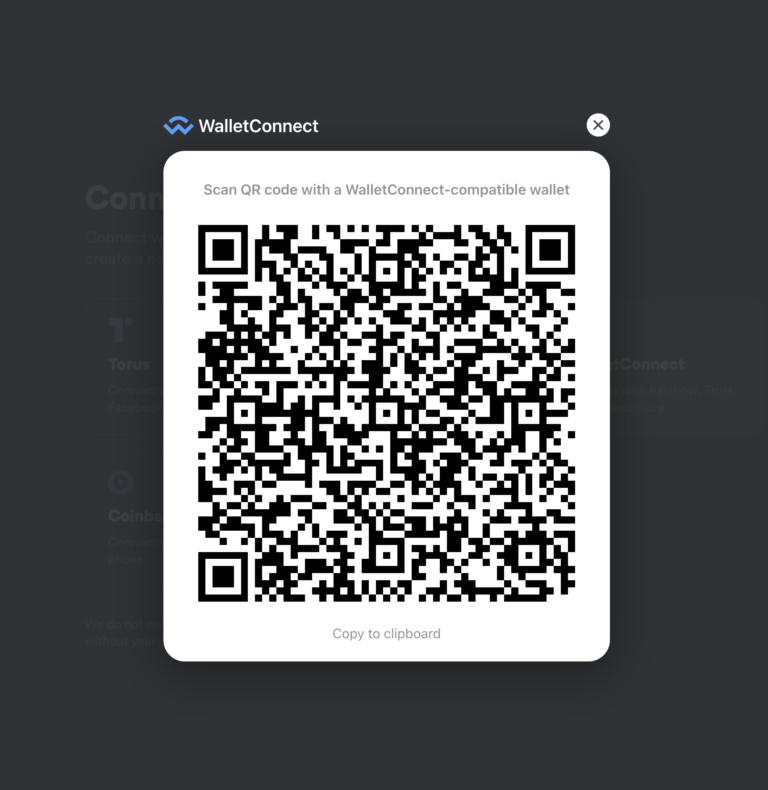
- At this stage, a QR code will appear on your screen. You’re going to scan the QR code with your wallet app and confirm your Rarible connection.
Step 5 - Mint Your Artwork
The last step to listing your artwork for sale is to mint it. During the minting process, you will specify a price, name, description, royalties, and basically any other info associated with your NFT. Once you click create, your wallet will ask you to sign and pay for gas fees.
NFT Gas Fees
Remember when I mentioned back in step 3 that there are fees associated with the creation of an NFT? That’s what Gas prices are. It’s a gas fee for that energy that goes into having the miners process your transaction. Think of it the same way as minting a coin. Your NFT is a token that gets minted. I recommend using the NFT Gas Station to get a rough idea of gas prices. Be prepared for a little sticker shock! Tip: Check at different times of the day for the best pricing.
You Did It!
If you followed all the above steps and have made it here, then congratulations! You have just created your first NFT. Be proud of yourself. Now you know what it takes to turn your art into a non-fungible token.
Are you ready to learn the skills it takes to make digital art so you can create your own NFT? Before you can put something up for sale, it is always good to understand the fundamental basics that go into creating your artwork. The team at Design Engine has your back. Learn how to create digital art with our Adobe Illustrator class, experiment with photography in our Adobe Photoshop class, or create 3D artwork with our Maya class.